


Meticulous care and expertise are required for Mercedes illuminated star repair, involving intricate design understanding, electrical component troubleshooting, and genuine replacement parts. Prioritize safety with specialized tools and best practices, testing connections for optimal lighting system function.
Looking to master the art of Mercedes illuminated star repair? This comprehensive guide is your compass. We’ll walk you through understanding the intricate mechanics, ensuring safe troubleshooting with essential tools and precautions. Then, follow our detailed step-by-step process for testing electrical connections, crucial for a successful and long-lasting repair. Uncover the secrets to tackling this iconic feature with confidence, bringing your Mercedes back to its dazzling best.
- Understanding Mercedes Illuminated Star Repair
- Tools and Safety Precautions for Testing Connections
- Step-by-Step Guide to Electrical Connection Testing
Understanding Mercedes Illuminated Star Repair
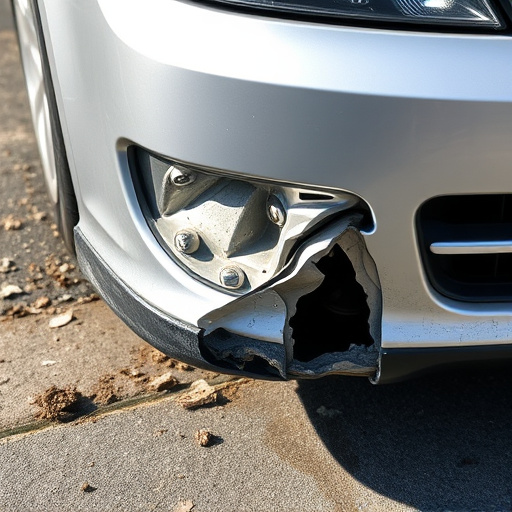
The Mercedes Illuminated Star is an iconic emblem that has become synonymous with luxury and precision engineering. When it comes to repairing or restoring this emblem, understanding its intricate design and electrical components is crucial. Mercedes illuminated star repair involves a delicate process of troubleshooting and replacing faulty wiring and connectors. The emblem often serves as a focal point on the vehicle’s bumper or grille, making auto maintenance and bumper repair even more critical to ensure it remains functional and aesthetically pleasing.
Many enthusiasts and professionals alike appreciate the art of automotive restoration, which includes meticulous attention to detail when handling such intricate features. By carefully examining the electrical connections, one can identify and resolve issues that may cause the star to malfunction or cease illuminating altogether. This process requires a deep understanding of Mercedes-specific repair techniques and access to genuine replacement parts to ensure the emblem’s longevity and the vehicle’s overall safety in the event of a collision or routine auto maintenance check.
Tools and Safety Precautions for Testing Connections

When testing electrical connections for a Mercedes illuminated star repair, safety should always be your top priority. This involves using appropriate tools designed for the task and following best practices to avoid any potential hazards. For instance, insulated screwdrivers and wire strippers are essential to prevent short circuits or electric shocks. Always ensure the vehicle’s battery is disconnected before beginning any work to eliminate the risk of electrical surges.
Additionally, a multimeter—a versatile tool for measuring voltage, current, and resistance—is indispensable in diagnosing faulty connections. Properly identified terminals and understanding the circuit’s function are crucial steps. Remember, proper safety gear like insulated gloves and eye protection is vital for fleet repair services or even in a collision center setting. These precautions guarantee both your safety and the effectiveness of the Mercedes illuminated star repair process.
Step-by-Step Guide to Electrical Connection Testing
Testing electrical connections is a crucial step when undertaking a Mercedes illuminated star repair. It ensures that your vehicle’s lighting system functions optimally and safely. Here’s a straightforward guide to help you through the process:
1. Locate the Component: Start by identifying the specific electrical component you intend to test, whether it’s a bulb, fuse, or wire harness. For instance, in a Mercedes illuminated star repair, focus on the star emblem itself and its associated wiring.
2. Disconnect Power: Before beginning any testing, ensure that power is disconnected from the circuit. Turn off your vehicle and use a voltmeter to confirm no current is flowing through the circuit. This safety measure prevents accidental shocks or damage to components during testing.
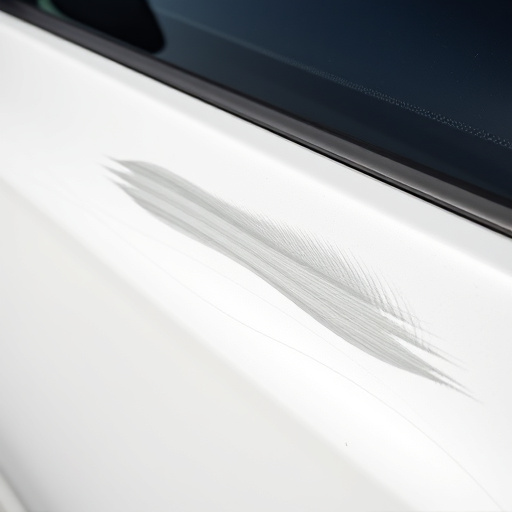
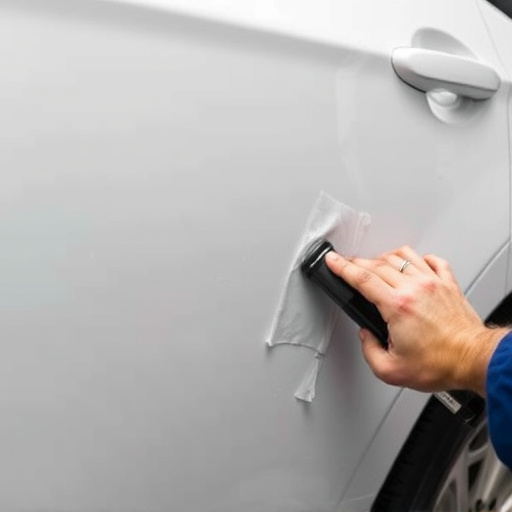
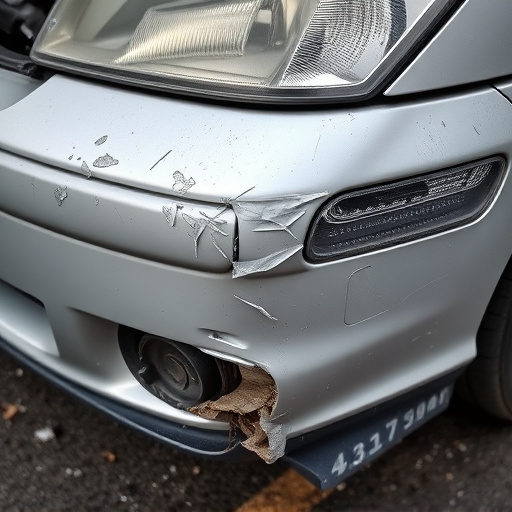
3. Inspect for Damage: Visually examine the wires, bulbs, and connectors for signs of damage, corrosion, or loose connections. A car dent repair might have caused these issues in the first place, so take note of any areas requiring attention.
4. Use a Voltmeter: Employ a voltmeter to check for voltage at various points along the circuit. This tool will help you identify where a connection may be failing, whether between wires, at a fuse, or within a bulb.
5. Replace or Repair as Necessary: If your testing reveals faulty connections, take the appropriate action. This could involve replacing damaged wires in a vehicle body shop, fixing corroded connectors, or swapping out defective bulbs or fuses.
In conclusion, mastering the art of testing electrical connections in a Mercedes illuminated star repair is an essential step towards ensuring your vehicle’s optimal performance and safety. By understanding the process, employing the right tools, and adhering to safety precautions, you can effectively navigate through this intricate task. With a step-by-step guide in hand, you’ll be well-equipped to diagnose and resolve any issues, ultimately enhancing the reliability of your Mercedes’ iconic illuminated star system.